CONGRATULATIONS! You have just adopted a beautiful sourdough starter! Now I know what you're thinking.... how the heck do I take care of this thing now?!? Well let me tell you, it's easier and less complicated than you think! When making sourdough for your family it doesn't need to be a perfect loaf every time, just delicious, and it will be! 5 days from now you could have a house that smells like a bakery, and a dinner complete with delicious fresh sourdough bread!
-Megan Cay Carroll
INSTRUCTIONS
Take a deep breath, I want to make this easy for you! No scientific journals, no crazy techniques, no expensive weird tools... Just you, me, and some flour and water, let's go!
Day 1

- Find a bowl or jar, nothing fancy, something that can hold about 2 cups worth.
- Fill the container with 25 grams of warm water, less hot than bath water, but feels warm to the touch.
- Add the full pouch (10 grams) of dried sourdough starter. Do a little mix just to make sure the starter is all wet, then let it hang out for about half an hour.
- Add 15 grams of flour and mix super well. The thickness will be like muffin batter or really thick pancake batter. Cover and leave on counter until tomorrow.
Day 2
- Add 50 grams of room temp water.
- Add 50 grams of flour.
- Mix well, cover and let rest on countertop until tomorrow.
Day 3
- Remove slightly more than half of the starter from your jar, throw it away (this is "discard" for future reference) in your trashcan (not down your drain, thank me later).
- Add 50 grams of room temp water.
- Add 50 grams of flour.
- Mix well, cover and let rest on countertop until tomorrow.
Day 4 - almost there
- Remove slightly more than half of the starter from your jar, throw it away (this is "discard" for future reference) in your trashcan (not down your drain, thank me later).
- Add 50 grams of room temp water.
- Add 50 grams of flour.
- Mix well, cover and let rest on countertop until tomorrow.
Day 5 - HAPPY BAKE DAY!
- Your starter should now be revived and ready to bake. Give it a little sniff, it should smell like sourdough, a little vinegary in a pleasant way. If it does not smell nice....something is wrong (see trouble section below).
- Before you bake with it you need to feed it one more time, in the morning is ideal. This time you may want a larger jar - maybe something that can hold 4+ cups!
- Weigh out 75 grams of starter and put it in your new larger jar. Throw away the leftovers in the small jar.
- Add 75 grams of warm water.
- Add 75 grams of bread flour.
- Mix well, cover, and let rest on the countertop for about 4 hours. Don't stress too much over 4 hours...this is 4ish hours....ISH.
- After those 4 hours are up you will have 200 grams of starter to bake with and 25 grams of starter to keep! Follow whatever recipe your heart desires... or just the best recipe below lol!
Day 5 - The Kindred Cottage boule recipe
- After 4ish hours your starter should have risen at least double. If it has not, and your house isn't frigid, something may be wrong (see trouble section below)
- In a large, and I mean large, mixing bowl add 200 grams of your starter (this should leave you 25 grams of starter in your jar, keep that safe).
- Add 400 grams of warm water, and mix.
- Add 20 grams of salt and 15 grams of honey, mix.
- Add 600 grams of bread flour, and mix. (now you can do this in a stand mixer, but you'll put more love into it if you mix it by hand.) Mix and squish and mix and squish some more until all of the flour is incorporated, have fun with it, you cannot over mix it....in fact the more the better. If using a stand mixer knead it for 5-7ish minutes on a medium high setting.
- Cover and let sit for about 1 hour.
- Uncover, envision your dough being a square in your bowl, having 4 "sides". Wet your freshly clean hands and slide one hand down the first side of the bowl and pull the dough from the bottom up stretching it as much as you can without breaking if possible (its fine if it does, but the goal is no breakage). Do this to all 4 sides of your dough. Then do it 1 or 2 more times to all 4 sides again. Congratulations, you just completed your first set of 4 "stretch and folds".
- Cover and let rest for 30 mins. (you're not going to ruin anything if this ends up being 20 minutes or 60 minutes... for the sake of a simple recipe lets just say 30-ISH)
- Do another set of stretch and folds the same way you did the first time.
- Cover and let rest for 30-ISH minutes.
- This time we are going to do something called a coil fold... I know i promised no fancy words but I guess I lied, you'll want to know the difference between a stretch and fold and coil fold, its easy you already know what a stretch and fold is so let me teach you the coil fold, its even easier! Wet your hands, slide your hands down the opposite sides of the bowl (right and left if that wasn't clear) slide your hands all the way under the dough and gently lift up the whole dang thing... kinda like you're scooping up a cat. At this point we don't want to break the dough (or the cat) so be gentle and only pull up as much as it will let you, then gently "fold" it by laying it forwards on top of itself. (if you're confused its ok, maybe search "coil fold" on the Tok or Tube it's so much easier than my TLDR paragraph here).
- Turn the bowl a quarter turn, then do the same thing again.
- Do one more turn and repeat, then cover and let rest for 30 more mins.
- Last one! Do 3-4 coil folds then cover that baby up and let rest for about 2 more hours.
- After the rest, lightly dust your counter with some flour (preferably rice flour as it won't burn as much, but AP or Bread flour is just fine too) dump your dough out onto the counter. You can choose here to make two smaller loaves or one large loaf. Gently pull the dough into a rectangular shape. Fold the rectangle into thirds, just like a letter. Then roll it all up tightly from one of the short ends. pinch the dough together and place smooth side down into a basket lined with a lint free towel (like a flour sack style towel). Cover with plastic wrap (or a disposable shower cap!) and place in the fridge overnight.
- The next morning prep your oven by moving the rack to the second lowest level, and preheating the oven to 500 F with your dutch oven indside.
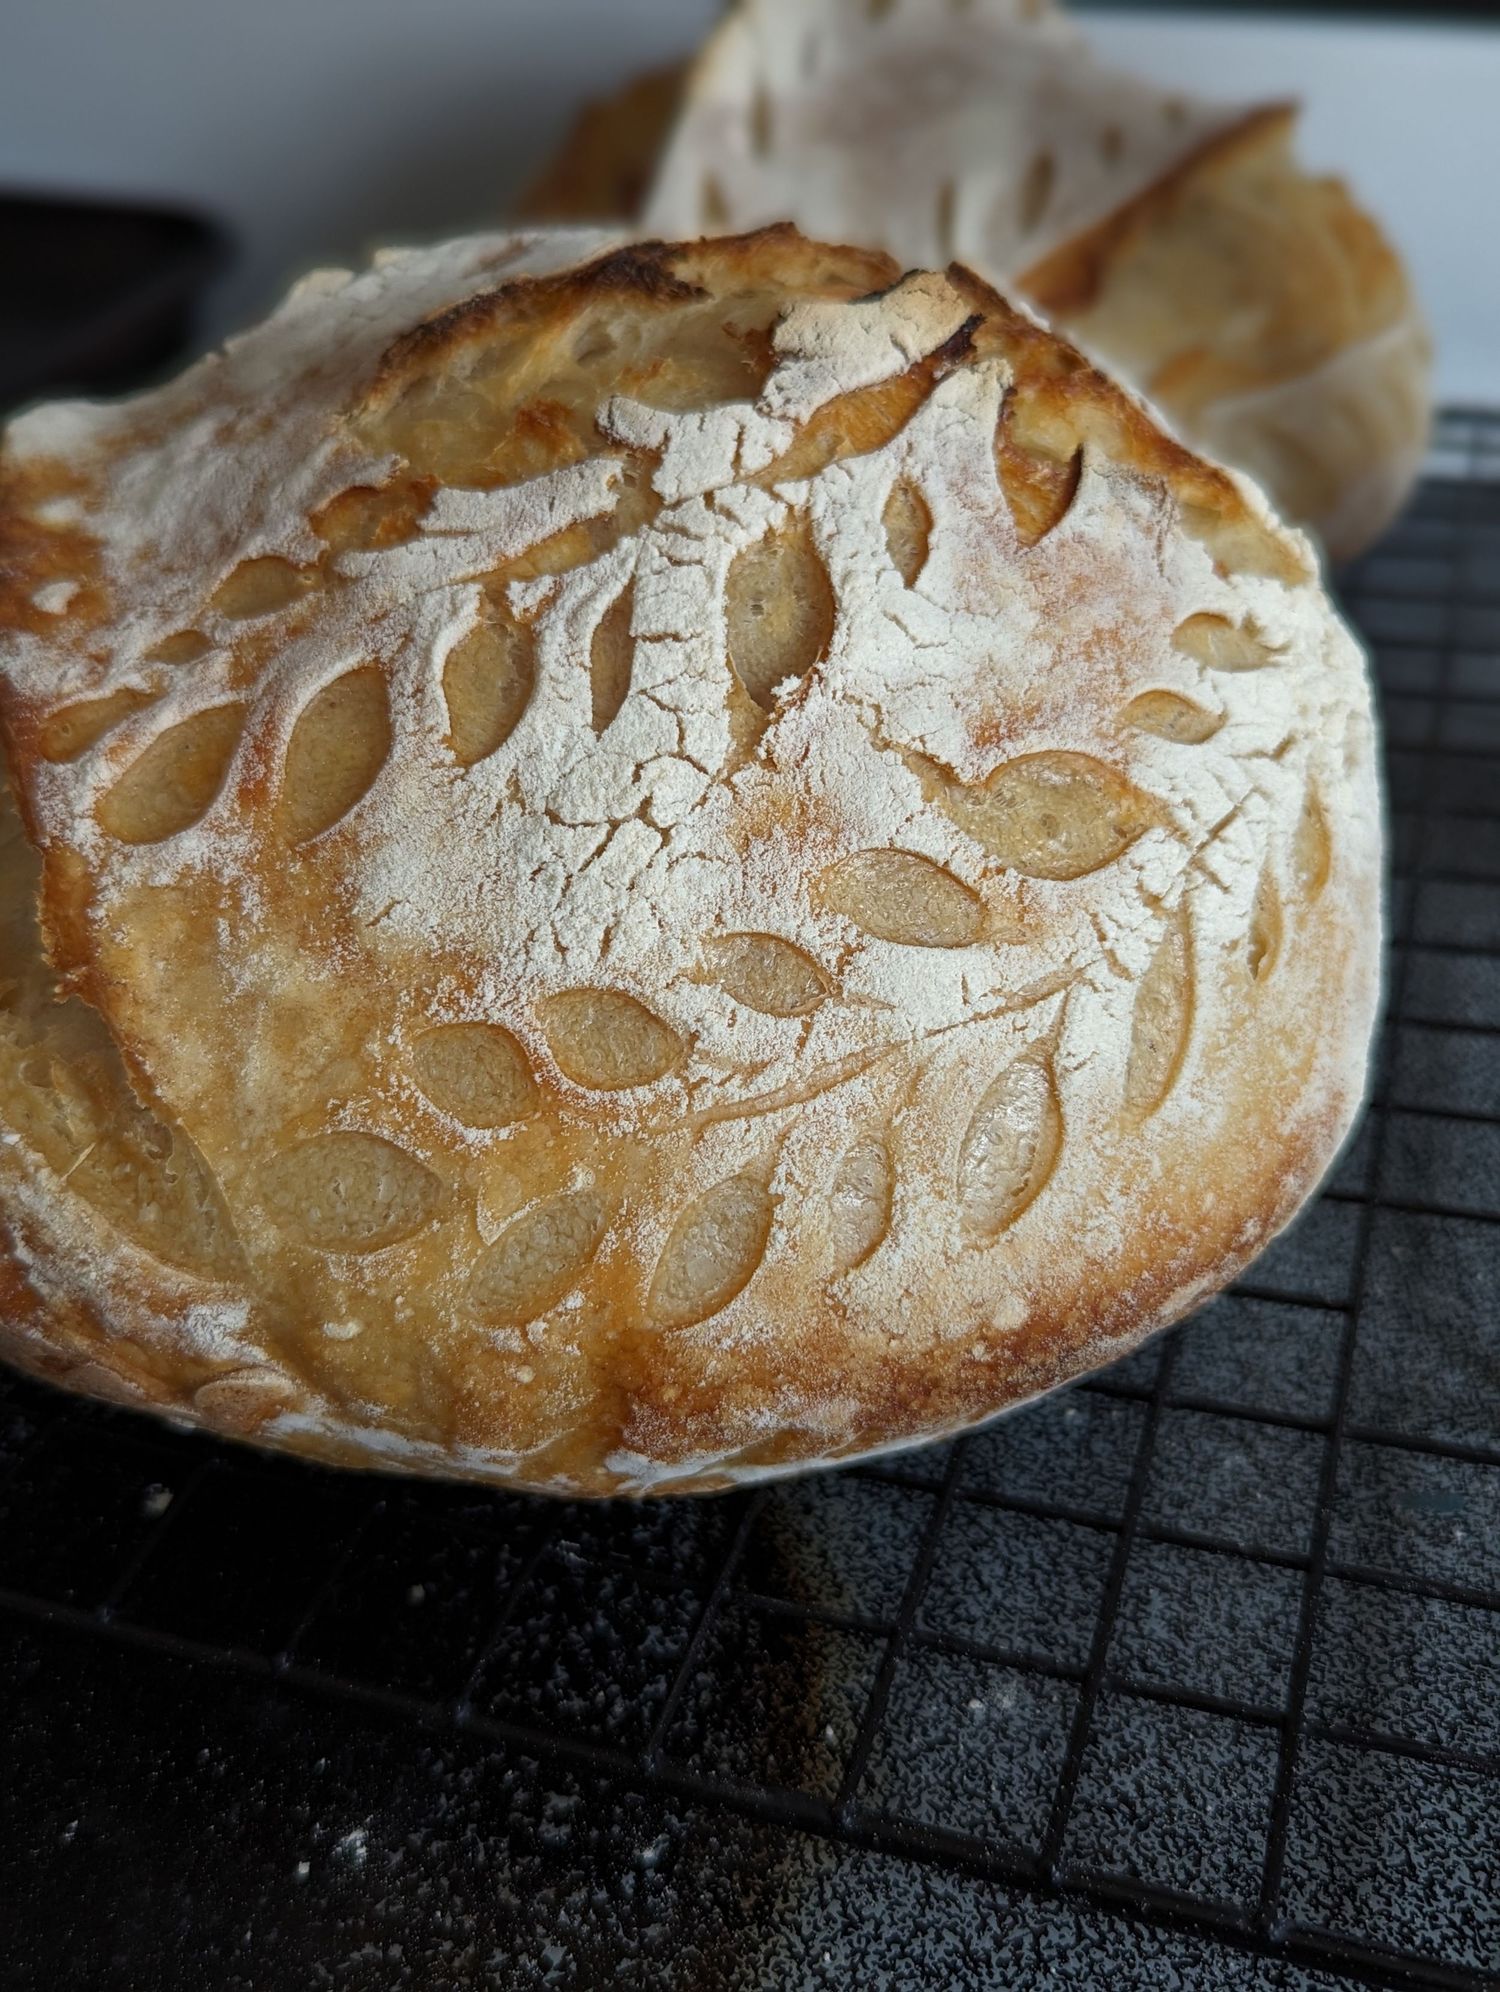
- When the oven is up to temp (this should take about 30 mins) take the dough out of the fridge and turn it out onto a piece of parchment paper. Sprinkle the top with more rice flour, then give the top at least one big slash with a very sharp knife and carefully lift the dough with the parchment paper into the hot dutch oven (careful!). Bake for approx 35 mins on 500F then reduce heat to 475F and remove the lid. Bake for an additional 10-20 minutes or until the top is golden and the internal temp has reached 200F.
- Let cool completely before eating!